Products
Solutions
Resources
9977 N 90th Street, Suite 250 Scottsdale, AZ 85258 | 1-800-637-7496
© 2024 InEight, Inc. All Rights Reserved | Privacy Statement | Terms of Service | Cookie Policy | Do not sell/share my information

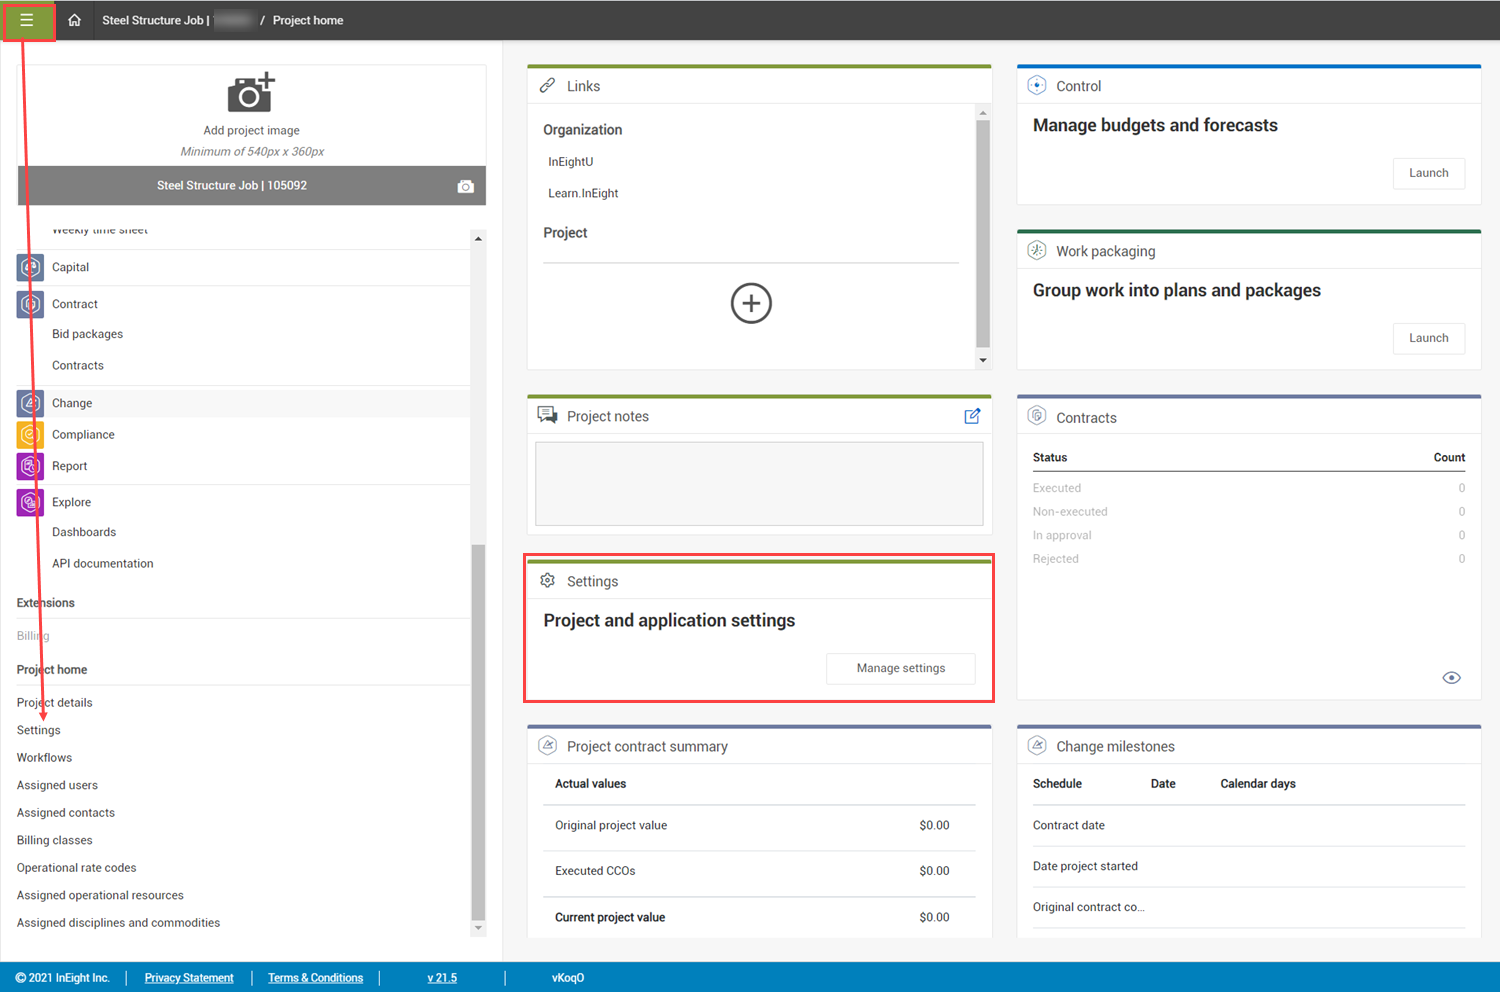
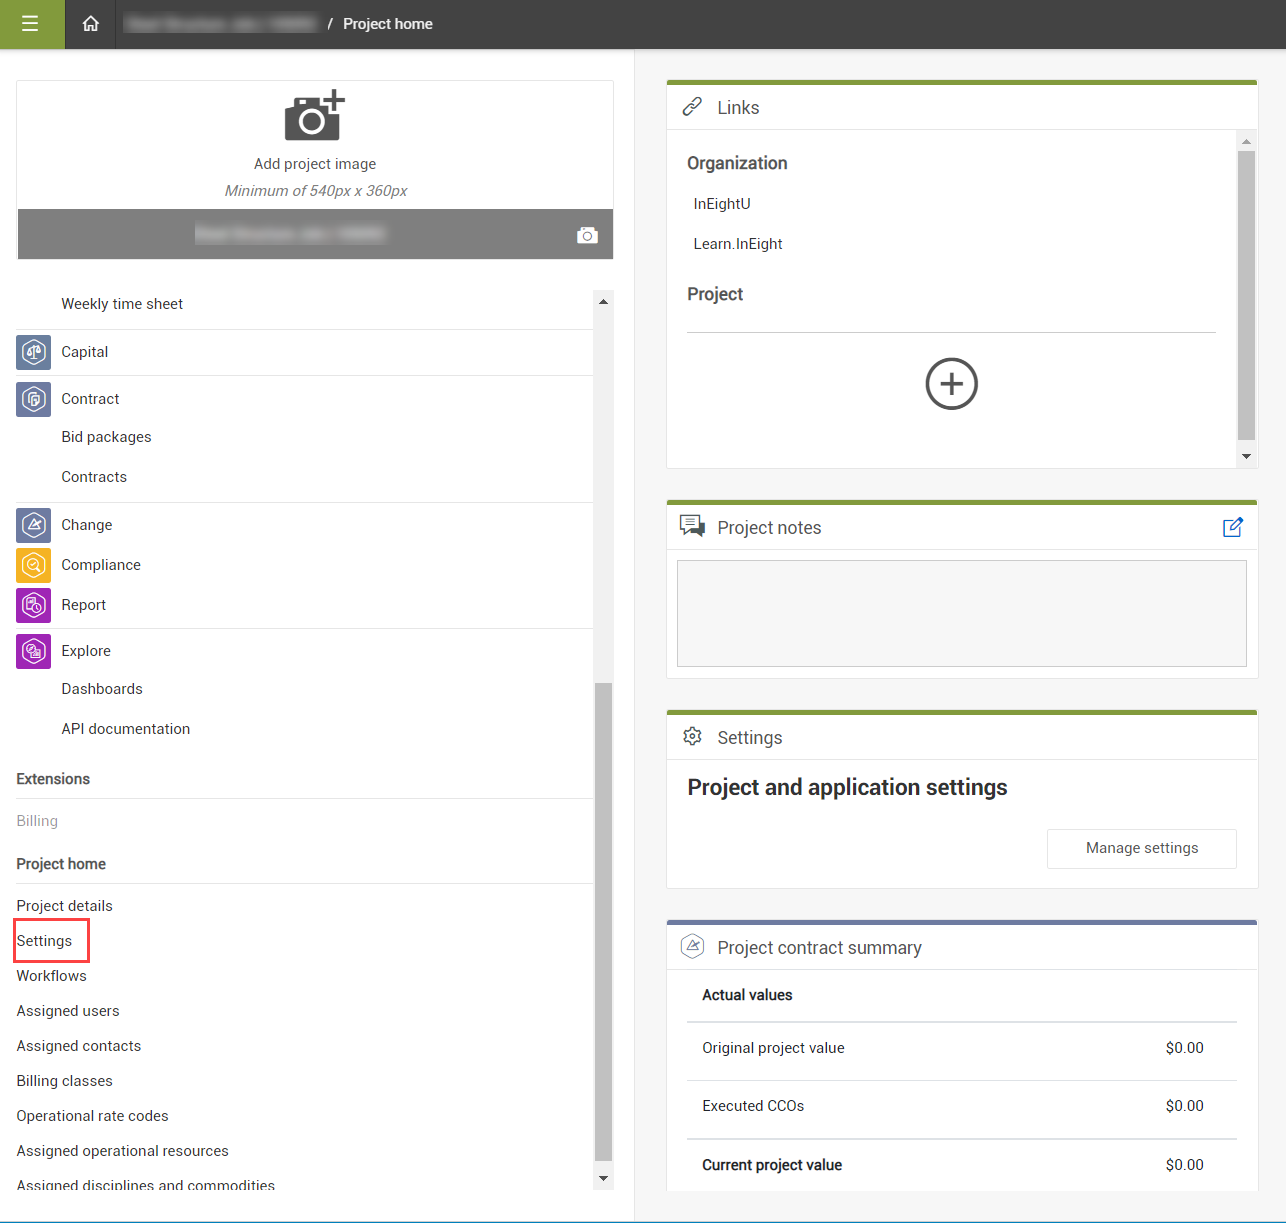
To manage a project successfully within Contract, the correct project settings need to be set up before project initiation. project settings are distinct from organization settings, which are defined by the administrative level of your organization. The image below shows you the ways you can access project settings from the Project home landing page.
Some settings defined at the organization level will limit the settings you can define at the project level
The following steps walk you through how to navigate to project settings.
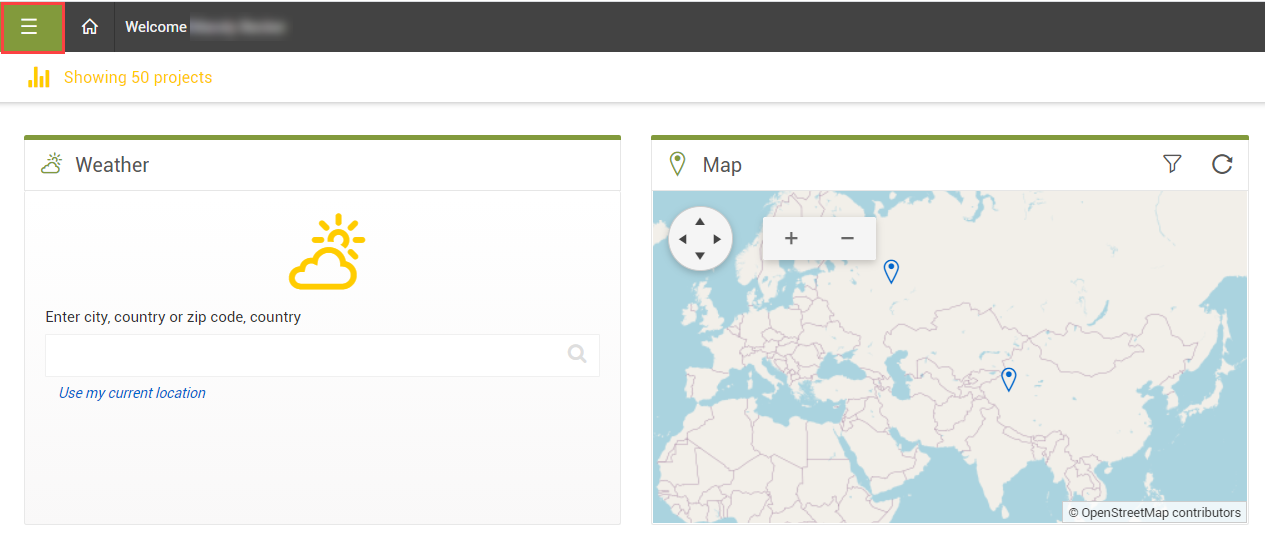
From the InEight cloud platform home page, open the Main menu on the upper left side of the page.
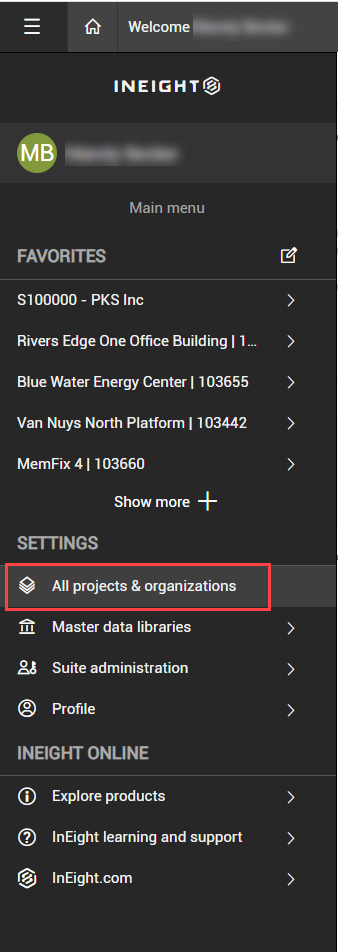
Click on the All projects & organizations menu option.
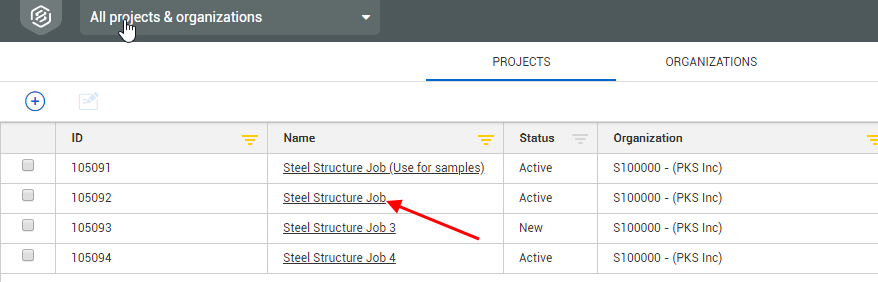
On the Projects tab of the All projects and organizations page, search for the Steel Training Job.

Once found, click on the Project Name link of the Steel Training Job.
Select Settings from the left navigation menu.
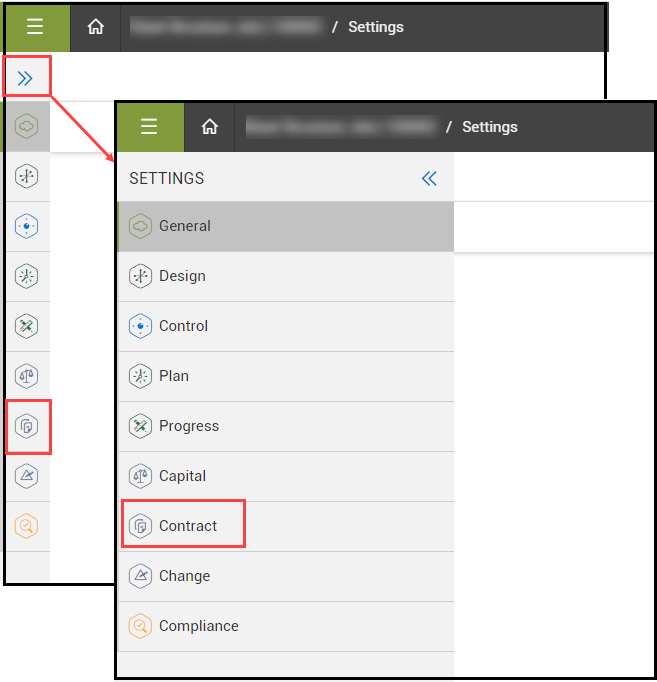
Select the Contract icon on the left side of the page. You can use the expansion arrows to see the application names.
The project settings for Contract are organized into four tabs:

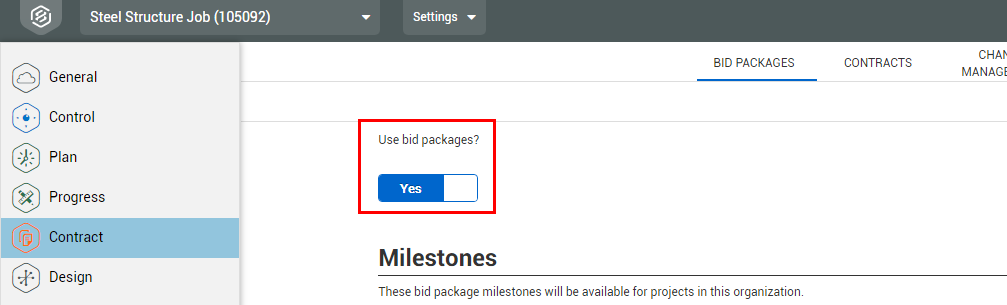
The first setting under Bid Packages is a toggle switch to control whether Contract will include the Bid Packages functionality or not. Depending on how your organization runs things, you may or may not want to use InEight Contract for managing the bid package part of the process.
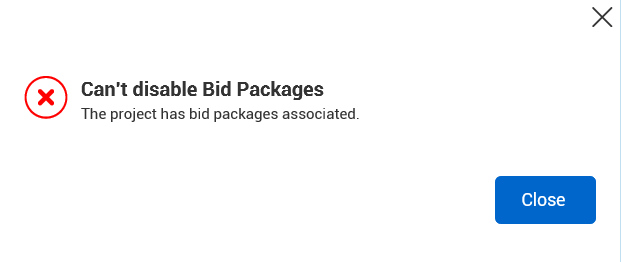
If there is already a bid package associated with your contract, you cannot turn off the bid package. If you do, an alert appears to notify you.
The second section under Bid Packages is populated by benchmarking milestones. On bid packages, milestones are used to track your dates and deadlines and report on if you are ahead or behind schedule.
Milestones set up by your organization at the Organization level are inherited on the Project settings tab, where you can decide which ones are required to use on bid packages and in what order. However, you are not able to change milestones to not be required if they were set to Required at the Organization level. You can add new milestones at the project level.
You can include or not include milestones by selecting and deselecting the Required Yes/No toggle. You cannot add or delete milestones from the list in Project settings, but milestones can be added in the Organization settings if you have access.

|
Item number |
Term |
Definition |
|---|---|---|
|
1 |
Selection column | Use to select a column for changing the position. |
|
2 |
Position indicator | Notes the position of the milestone. |
|
3 |
Milestone | The name of the milestone. |
| 4 | Default toggle | Indicates whether the milestone is required by default for your project. Toggles for milestones that are required by the organization are dimmed, and you cannot change them to optional. |
| 5 | Remove milestone | Use to remove a milestone. After a milestone is removed, it no longer appears in the milestone list on the project bid package Milestone page. |
| 6 | Directional arrows | Move the selected milestone up or down in order. |
The Letter of Intent/Award milestone represents selecting the vendor.
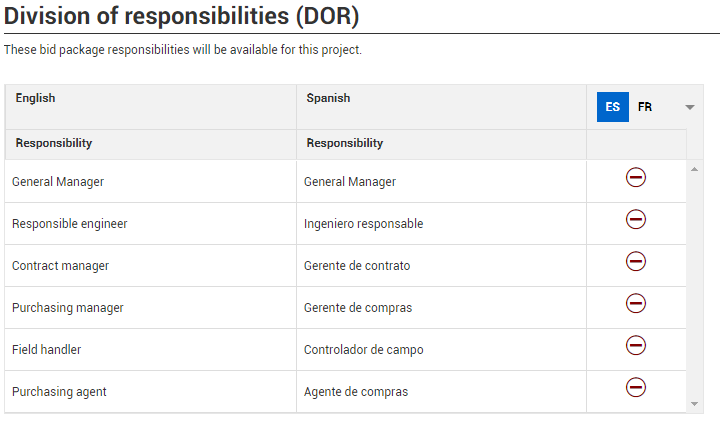
The third section of Bid Packages is Division of responsibilities (DOR). These are roles that will be available to assign a person to when creating a bid package.
You can remove a role from being needed on a bid package. The drop-down list for that role then does not appear when creating a new bid package.
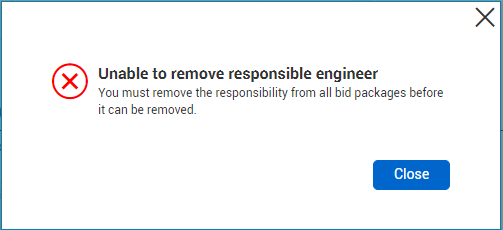
If there is already a responsibility associated with a bid package, you cannot turn off the role. If you do, an alert appears to notify you.
To access Contract-related settings, select the Contracts tab.

The first section under Contracts is Contract configurations, where you can adjust by contract type if overdelivery on line items is allowed and what percentage per line item is allowed.
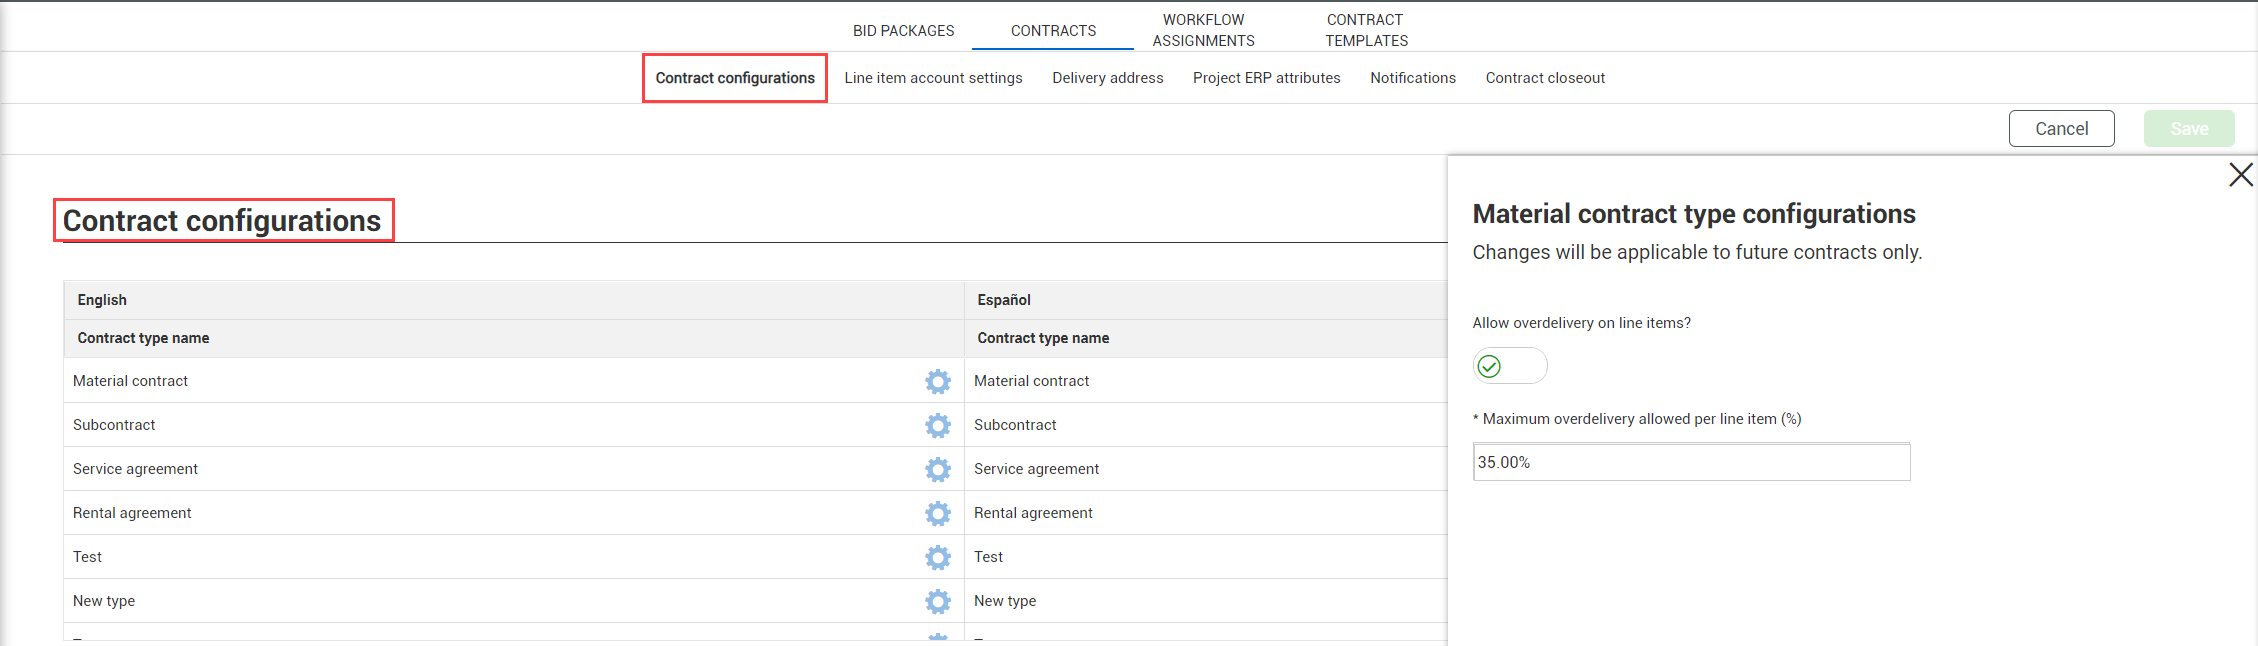
Overdelivery percentage caps are defined at an organizational level. For example, if the cap is 15%, a project can adjust to anything under 15% but cannot have a percentage anything above 15%.
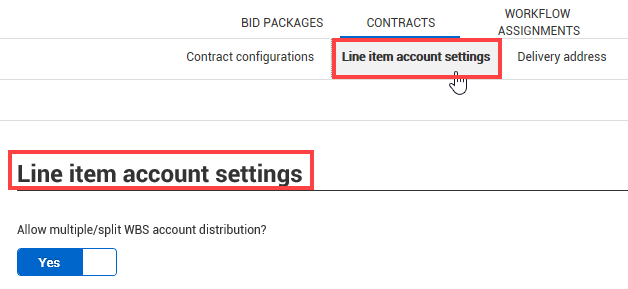
The second section under Contracts is Line item account settings, where you can toggle if a contract can be split between multiple WBS codes.
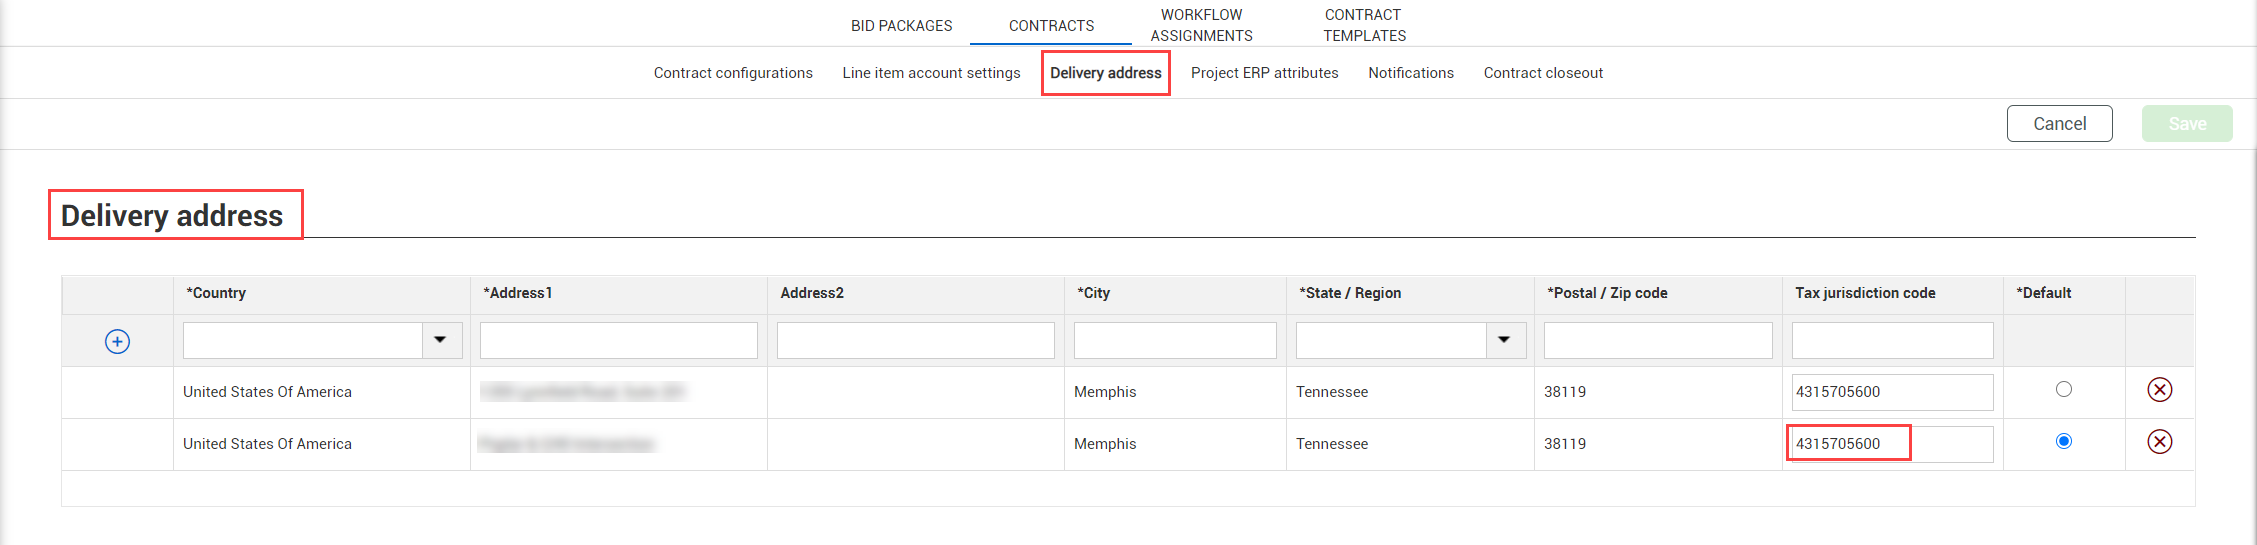
Below is the Delivery address section of this tab. This may be where your project’s materials will be delivered (either on or off-site), or services will be performed. If your project has multiple job locations, then enter them all. You must indicate which one will be the default location.
You may use your delivery address as your tax jurisdiction for states that have “point of receipt” taxes. After the shipping addresses are entered, the team member with the tax-related information can enter the tax jurisdiction code as needed. The tax jurisdiction code is used to drive how taxes will be calculated for the project.
One of the purposes of Contract is to input the necessary information to create a purchase order (PO) in your ERP system. Having a PO is important because without a PO, you cannot pay the vendor. Typically, your ERP system will have certain required attributes to create a PO. Defining these attributes in InEight will automate the filling in of those attribute fields in your ERP system for the project.
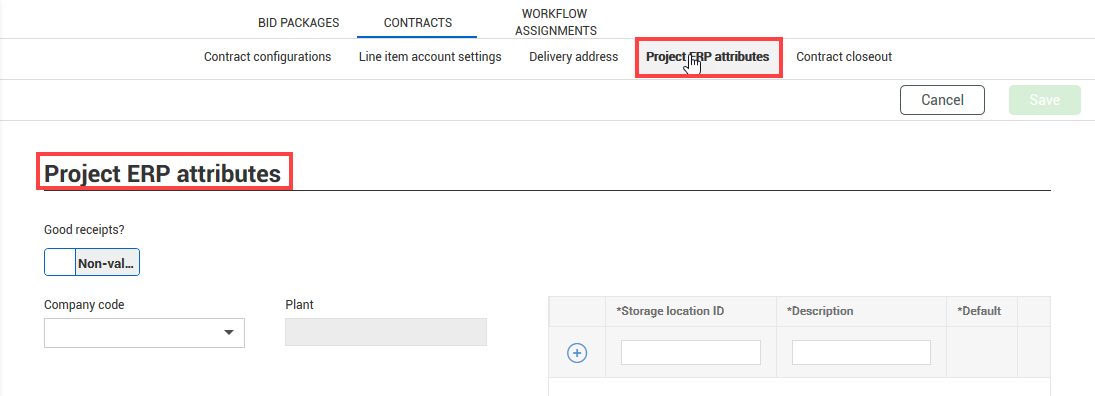
When using an ERP system, this must match your ERP system.
When your Good receipts are Valuated, the costs will calculate for that GR and quantity and value of the goods received displayed in the line item tab > Progress view.
Non-Valuated means that no costs are calculated and only the quantity received will display in the line item view > Progress view.

The table below provides definitions for each of these attributes.
|
Item number |
Term |
Definition |
|---|---|---|
|
1 |
Company Code |
The project legal entity, or the legal name you are doing business under. It is where profit and loss will be reported. The company code will populate from the default of the Organizational settings. |
|
2 |
Plant |
The project logistical entity and is tied to the company code. Any plant associated to that company code will appear in the drop-down list. Any plant associated to that company code will appear in the drop-down list. |
|
3 |
Storage Location |
A subset of Plant, it is the place where the materials are transferred or delivered. If you are keeping inventory in SAP, it is where your inventory is stored in the system, and where you can track that plan of materials. |
Once the plant is identified, enter the correct storage location using the drop-down.
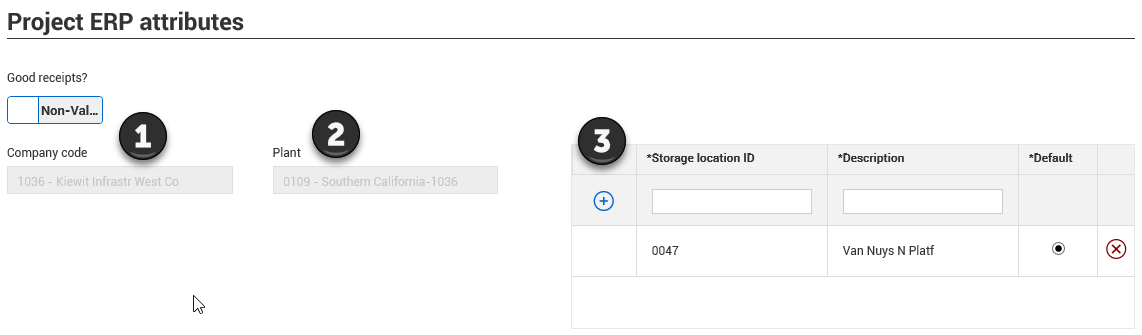
There are some larger jobs which would have more than one storage location. Make sure you list all of them but indicate the default location.
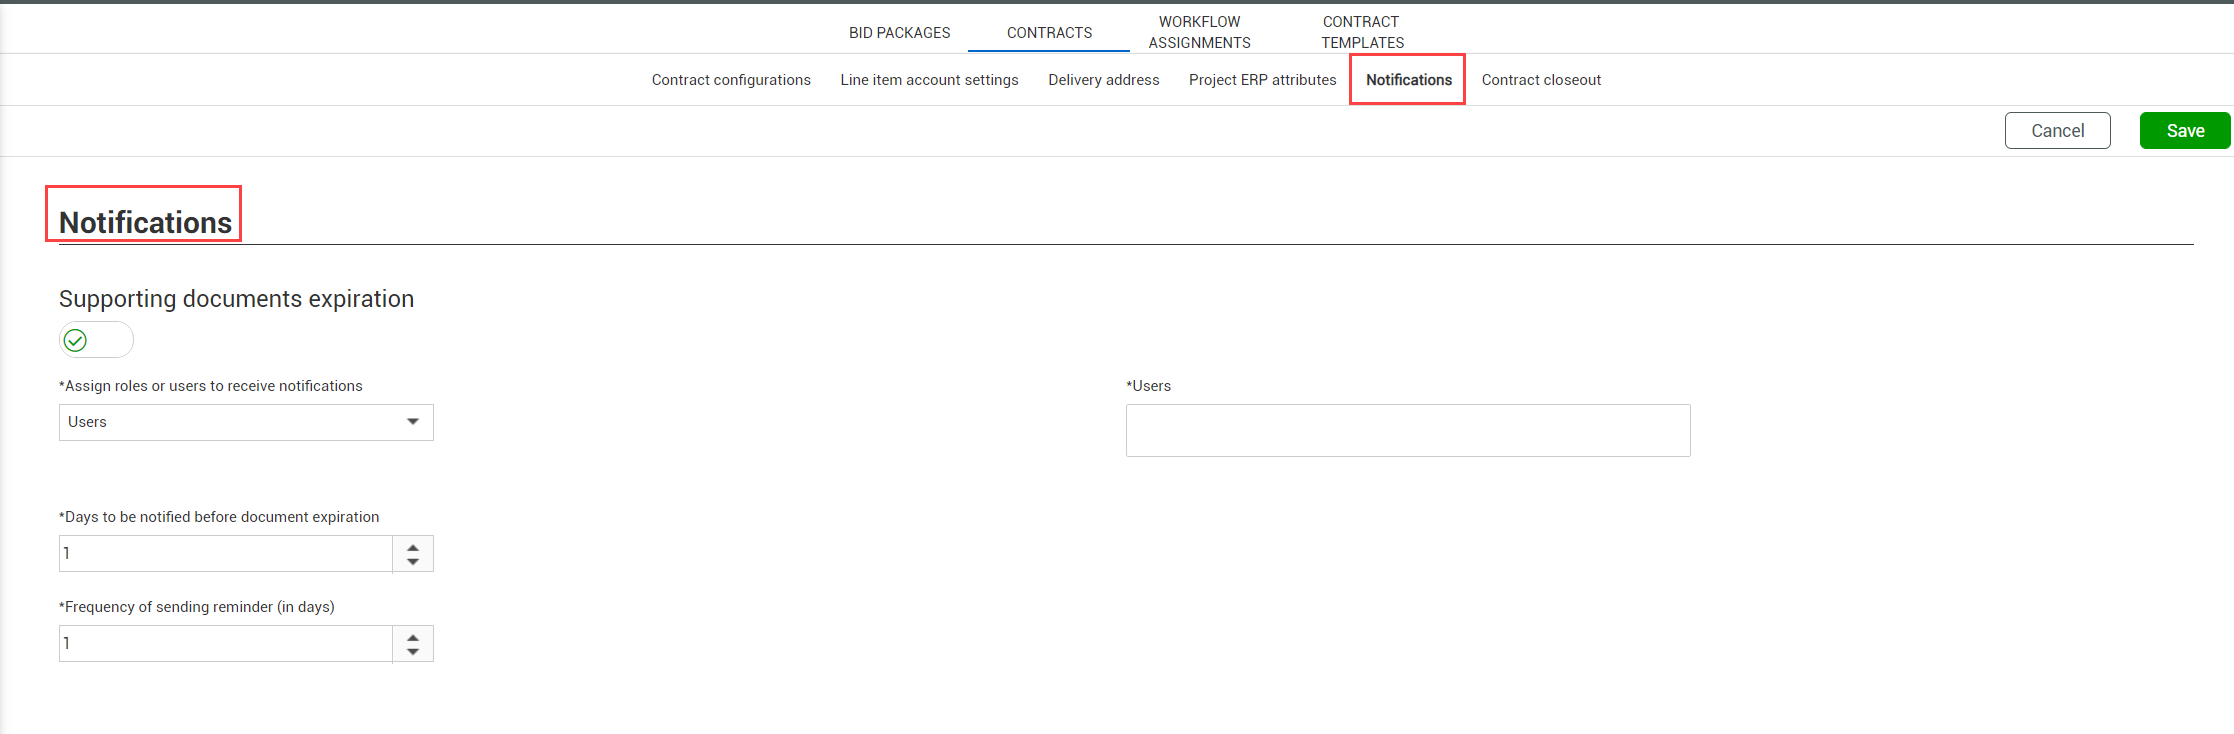
The Notifications section of the Contracts tab lets you configure whether notifications for supporting documents expiration is supported at the project level. The project-level setting functions independently of the organization-level setting, so the person who works directly with the vendors gets notification of expiring documents and can renew them on a timely basis. When you enable notifications, the tab shows fields that let you specify the roles or users to receive notifications, the number of days to be notified before document expiration, and the frequency of the reminder. Settings in the document details specify whether the notifications go beyond the expiration date.
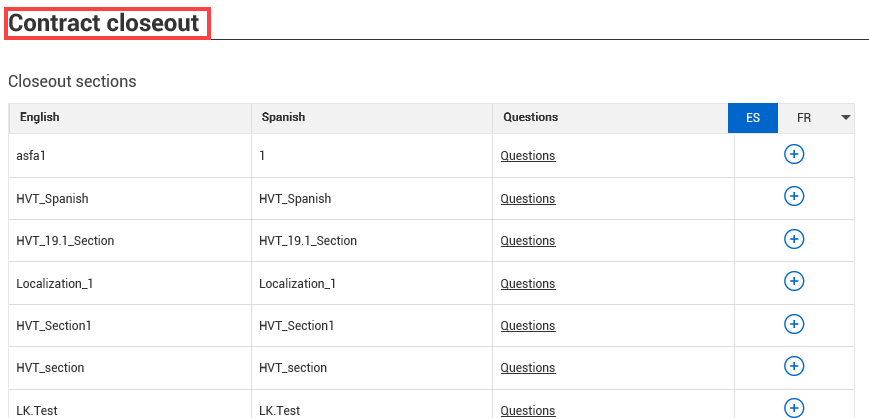
The final section of the Contracts tab is Contract closeout. This is where you can assign questions to each closeout section. Any questions added here will be automatically applied to all new contracts.
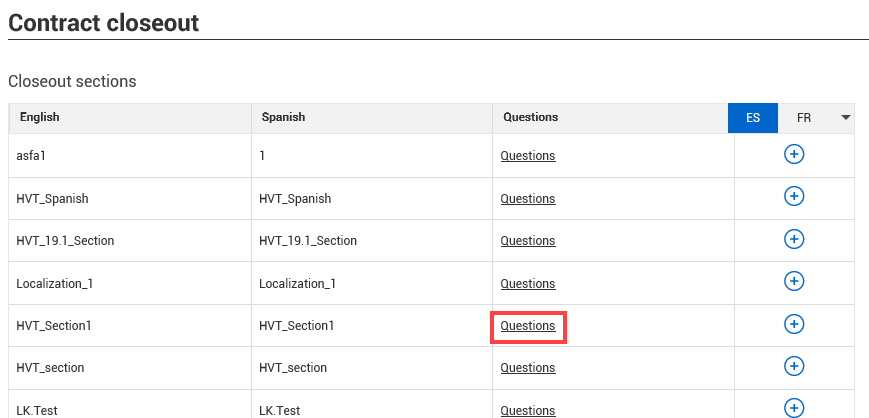
To add a question to a close out step, click on the Questions link under the Questions column.
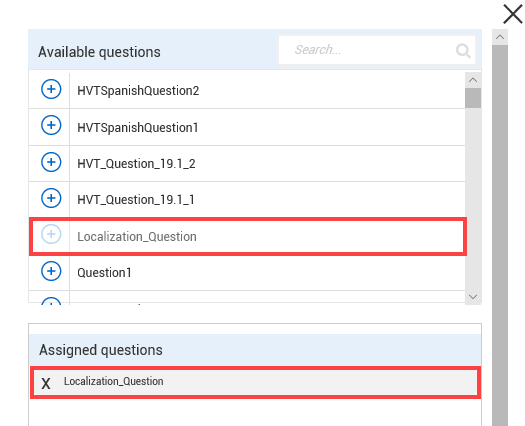
A slide out panel appears on the right. You will be able to see current questions assigned to that step that can be removed if they have not been used yet. You will also be able to search through current available questions. A question can be added by clicking the plus button to the left of the question.
You can delete a closeout section from project settings if it is not applicable and it is not used in any contract. If the closeout section is used in a contract and the status is Not Applicable, Not started, or Recalled, you can delete the section. You cannot delete contract closeout sections if they are used in a contract and the status is Started or Complete.
Closeout sections and questions are added in the Organizational settings.
Users assigned to complete contract closeouts do not have edit contract permissions. These permissions are set at the Organization level and the Administrator should be contacted to set these permissions. These permissions are assigned under Suite administration > Roles and permissions > Contract.
The contract templates tab lets you create and maintain contract templates at the project level. You can also set up the recipients for eSignature via DocuSign.
The Contract template tab in the project settings has headers for Project level templates and Organization level templates. To create project-level templates, go to the Project level templates tab, and follow the instructions described in the Organization settings topic.
Contract writer templates added at an organization level are available for projects by default and are listed in the Project level tab register. Organization-level templates are marked with Organization level in the Created by column.

To deactivate an organization-level template for a project, use the Project level use column to change the check mark to a minus, and then click Save.

You can copy an organization-level template to the project level, so you can make changes specific to a project without affecting the organization-level template. The new project-level template is version 1. The template details are editable. After the project-level template is published, changes at the organization level do not affect the project-level template.
Additional Information
9977 N 90th Street, Suite 250 Scottsdale, AZ 85258 | 1-800-637-7496
© 2024 InEight, Inc. All Rights Reserved | Privacy Statement | Terms of Service | Cookie Policy | Do not sell/share my information